Introduction:
Replacing old tiling can be a daunting task, but with the right approach and some handyman know-how, it becomes much more manageable. Whether you’re renovating your bathroom, kitchen, or any other tiled area, following these simple steps will help you achieve a successful and satisfying tile replacement project. From preparing the workspace to laying the new tiles, let’s walk through the process step by step.
Step 1: Evaluate the Project
Before diving into the tiling process, assess the scope of the project. Identify the areas that require replacement, calculate the number of tiles needed, and gather the necessary tools and materials. Make sure to have safety equipment such as gloves and goggles to protect yourself during the process.
Step 2: Remove Old Tiles
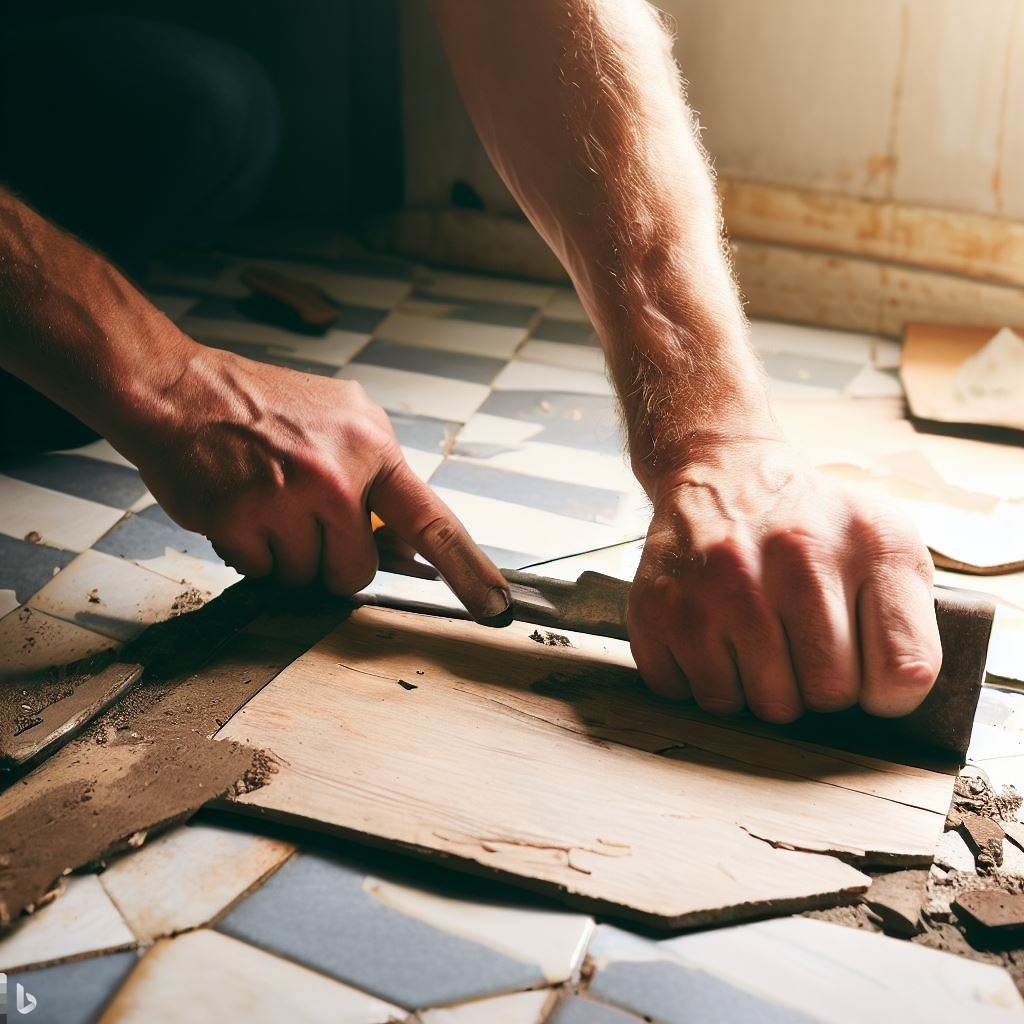
Start by removing the old tiles. Use a hammer and chisel to carefully chip away at the grout surrounding the tiles. Once the grout is sufficiently loosened, gently pry out the old tiles. Take your time to avoid damaging the surrounding tiles or the surface beneath.
Step 3: Prepare the Surface
With the old tiles removed, inspect the surface for any damage or debris. Scrape off any remaining adhesive or mortar and ensure the surface is smooth and level. If there are cracks or imperfections, use a patching compound to fix them. Let the compound dry and then sand the area for an even surface.
Step 4: Plan the Layout
Before laying the new tiles, plan the layout to ensure a symmetrical and visually appealing result. Start by finding the center of the area and use chalk lines to create reference lines for positioning the tiles. Dry-lay a few tiles without adhesive to see how they fit and make any necessary adjustments.


Step 5: Apply Tile Adhesive
Mix the tile adhesive according to the manufacturer’s instructions. Using a notched trowel, spread the adhesive over a small section of the surface, following the chalk lines as a guide. Work in manageable areas to prevent the adhesive from drying out before you lay the tiles.
Step 6: Lay the Tiles
Carefully press each tile into the adhesive, making sure they align with the reference lines. Use tile spacers to maintain uniform gaps between the tiles. Check frequently with a level to ensure the tiles are even and straight. Continue this process until all tiles are in place.
Step 7: Grout the Tiles
After allowing the adhesive to dry for the recommended time, it’s time to grout the tiles. Mix the grout according to the manufacturer’s instructions and use a rubber float to apply it evenly, pressing it into the gaps between the tiles. Wipe off excess grout with a damp sponge before it dries.
Step 8: Finishing Touches
Once the grout has dried and set, remove any remaining haze from the tiles with a clean, dry cloth. Caulk the edges of the tiled area to create a waterproof seal and protect against moisture.

Conclusion:
Replacing old tiling may seem like a challenging task, but by following these simple steps and taking a methodical approach, any handyman can successfully accomplish the project. With proper planning, preparation, and attention to detail, your newly tiled area will not only look stunning but also stand the test of time. Remember to work patiently and safely, and you’ll achieve professional-looking results that you can be proud of.